- Mar 22, 2022
- --
Using AsciiDoc and Antora to Create Online Technical Documentation
Magnolia is a constantly evolving enterprise software project. Maintaining Magnolia’s documentation across software versions, components, and modules, is a complex task that requires coordinating and tracking changes from multiple collaborators.
Magnolia is able to consistently provide up-to-date and accurate documentation by following a documentation-as-code approach. We do this by using AsciiDoc for writing documentation, and Antora for generating our documentation site https://docs.magnolia-cms.com/.
In this article, we provide an overview of how to use Antora to build a documentation site from AsciiDoc stored in a Git repository.
AsciiDoc and Antora Introduction
AsciiDoc is a lightweight markup language that is used as a popular tool for generating any type of software documentation. The AsciiDoc syntax is readable, concise, comprehensive, extensible, and extremely intuitive. One of the core advantages of using AsciiDoc is the ability to leverage include directives. Since this is a native feature of AsciiDoc, writers and developers alike can single-source content much like a React component. Rather than updating the same content in multiple places, writers simply have a source file that is included where necessary, and changes cascade to all locations.
Antora is a static-site generator that enables technical writers to generate an online documentation site from their AsciiDoc source files which are stored in one or more source control repositories. The generated site enforces a structured hierarchy of versions, components, and modules, and provides useful features out-of-the-box, like navigation and cross-referencing. Antora makes use of AsciiDoc’s native include directives through partials which can then be included in any page regardless of the developer repository from which the content is fetched. You can include partials like so:
include::<component>:<module>:partial$path/to/file.adoc[] Instead of navigating to a Wiki or a separate documentation tool, developers can easily commit AsciiDoc updates along with their code; typically in a /docs/ folder. This ensures that documentation remains consistent with the latest code updates.
This is made possible by Antora’s ability to fetch from multiple repositories. These repositories are defined in the playbook. We also define what versions are fetched for each repository in the playbook like so:
   - url: https://git.magnolia-cms.com/scm/cloud/magnolia-cloud.git
    branches: [‘latest’, 1.4, 1.2]
    start_path: docs
Only the specified branches or tags are fetched from the developer repository. Within the docs folder of the repository, there is an antora.yml file that provides a label for each branch. This typically matches the name of the branch but can be changed to meet the needs of the team. The label from the antora.yml file is part of the docs URL. For example, on our site, you see https://docs.magnolia-cms.com/product-docs/6.2/…
The “6.2” comes from the label in the antora.yml file in the product-docs repository. As we move forward with this approach, the documentation will begin to align more specifically with the versions of the repositories from which the content is fetched. We currently release documentation alongside releases via a dev branch, like 6.2.17-dev, which is merged into the production branch upon release. As we go forward, individual modules and other versioned Magnolia components will follow the same pattern, ensuring version-specific documentation.
Continuous Integration (CI) pipelines can be configured to trigger builds of the documentation site, using Antora, whenever an AsciiDoc is updated. This automates the process of maintaining the documentation for customers.
Though Antora does not provide a search function, it’s easily integrated with tools such as Lunr or Algolia. Our site uses Algolia’s docsearch to index and crawl the site.
Building an Antora Demo Site
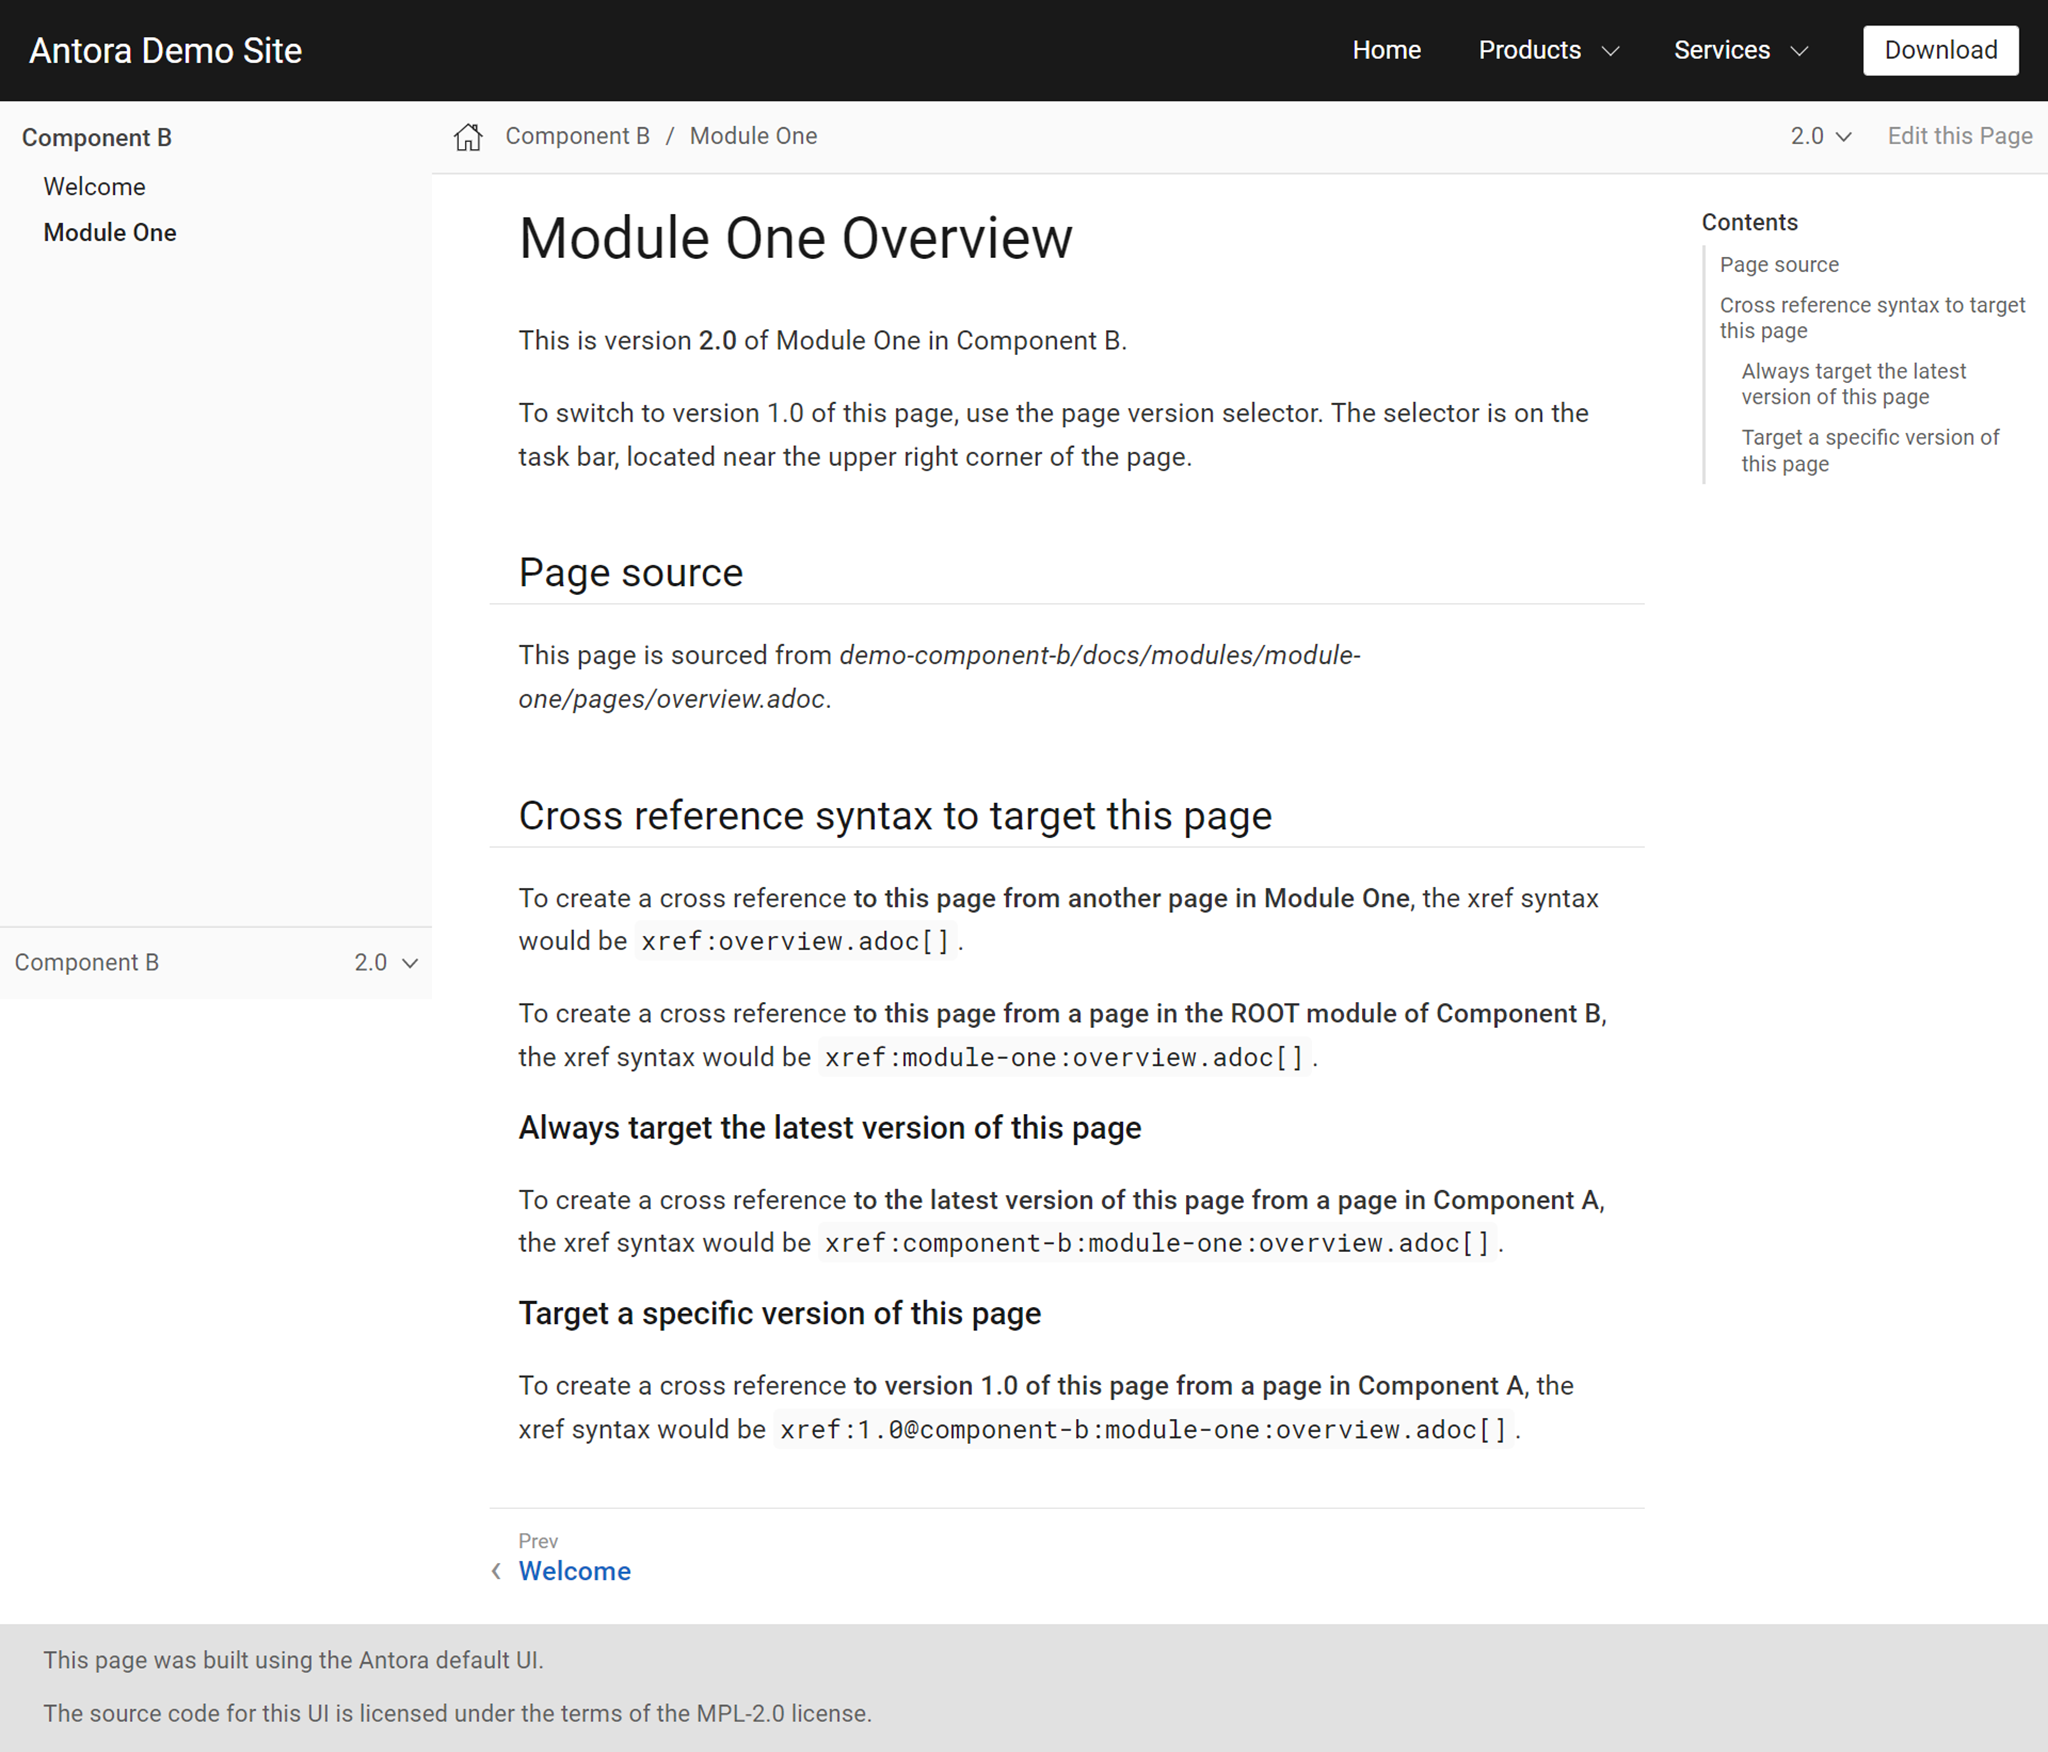
To build an Antora demo site, we first use its default User Interface (UI). The site contents are sourced from the demo docs available in the official Antora demo. We then customize the look and feel of the site by adding our own UI source code.
Running The Antora Demo Playbook
Let’s create a sample project and clone the first Antora playbook.
Clone the demo playbook project for generating and publishing the demo site with Antora:
git clone https://gitlab.com/antora/demo/docs-site.git antora-demo Change into the directory of the cloned project:
cd antora-demo Run the Antora playbook to generate the site:
npx antora --fetch antora-playbook.yml You should then see the following output as the script executes:
  [clone] https://gitlab.com/antora/demo/demo-component-b.git [####################################################################################################]
[clone] https://gitlab.com/antora/demo/demo-component-a.git [####################################################################################################]
Check the build output by running:
ls build/site/ You should see output similar to this:
404.html _ component-b index.html sitemap.xml When you open index.html in a browser, you should see the basic demo site:

Tips for Writing Antora Macros
We use AsciiDoc and Antora to build Magnolia’s documentation. To add dynamic content such as version numbers to the static pages, we created Antora macros. Read our blog to learn more.
Read nowBuilding The Antora Demo UI Project
If we inspect the ui section of the antora-playbook.yml, we’ll see it specified as a pre-compiled default UI bundle from a remote source:
  ui:
  bundle:
    url: https://gitlab.com/antora/antora-ui-default/-/jobs/artifacts/HEAD/raw/build/ui-bundle.zip?job=bundle-stable
    snapshot: true
The Antora UI bundle contains assets, such as templates, CSS, JavaScript, and images, that are used to structure and style the documentation site. Instead of using a pre-built bundle, we customize the UI using our own code.
Create a new folder to store the UI files and change into it:
  mkdir ui
cd ui
Clone the Antora UI project:
git clone https://gitlab.com/antora/antora-ui-default.git . After this, you can inspect the /ui/src folder and see all the assets used to style the project.
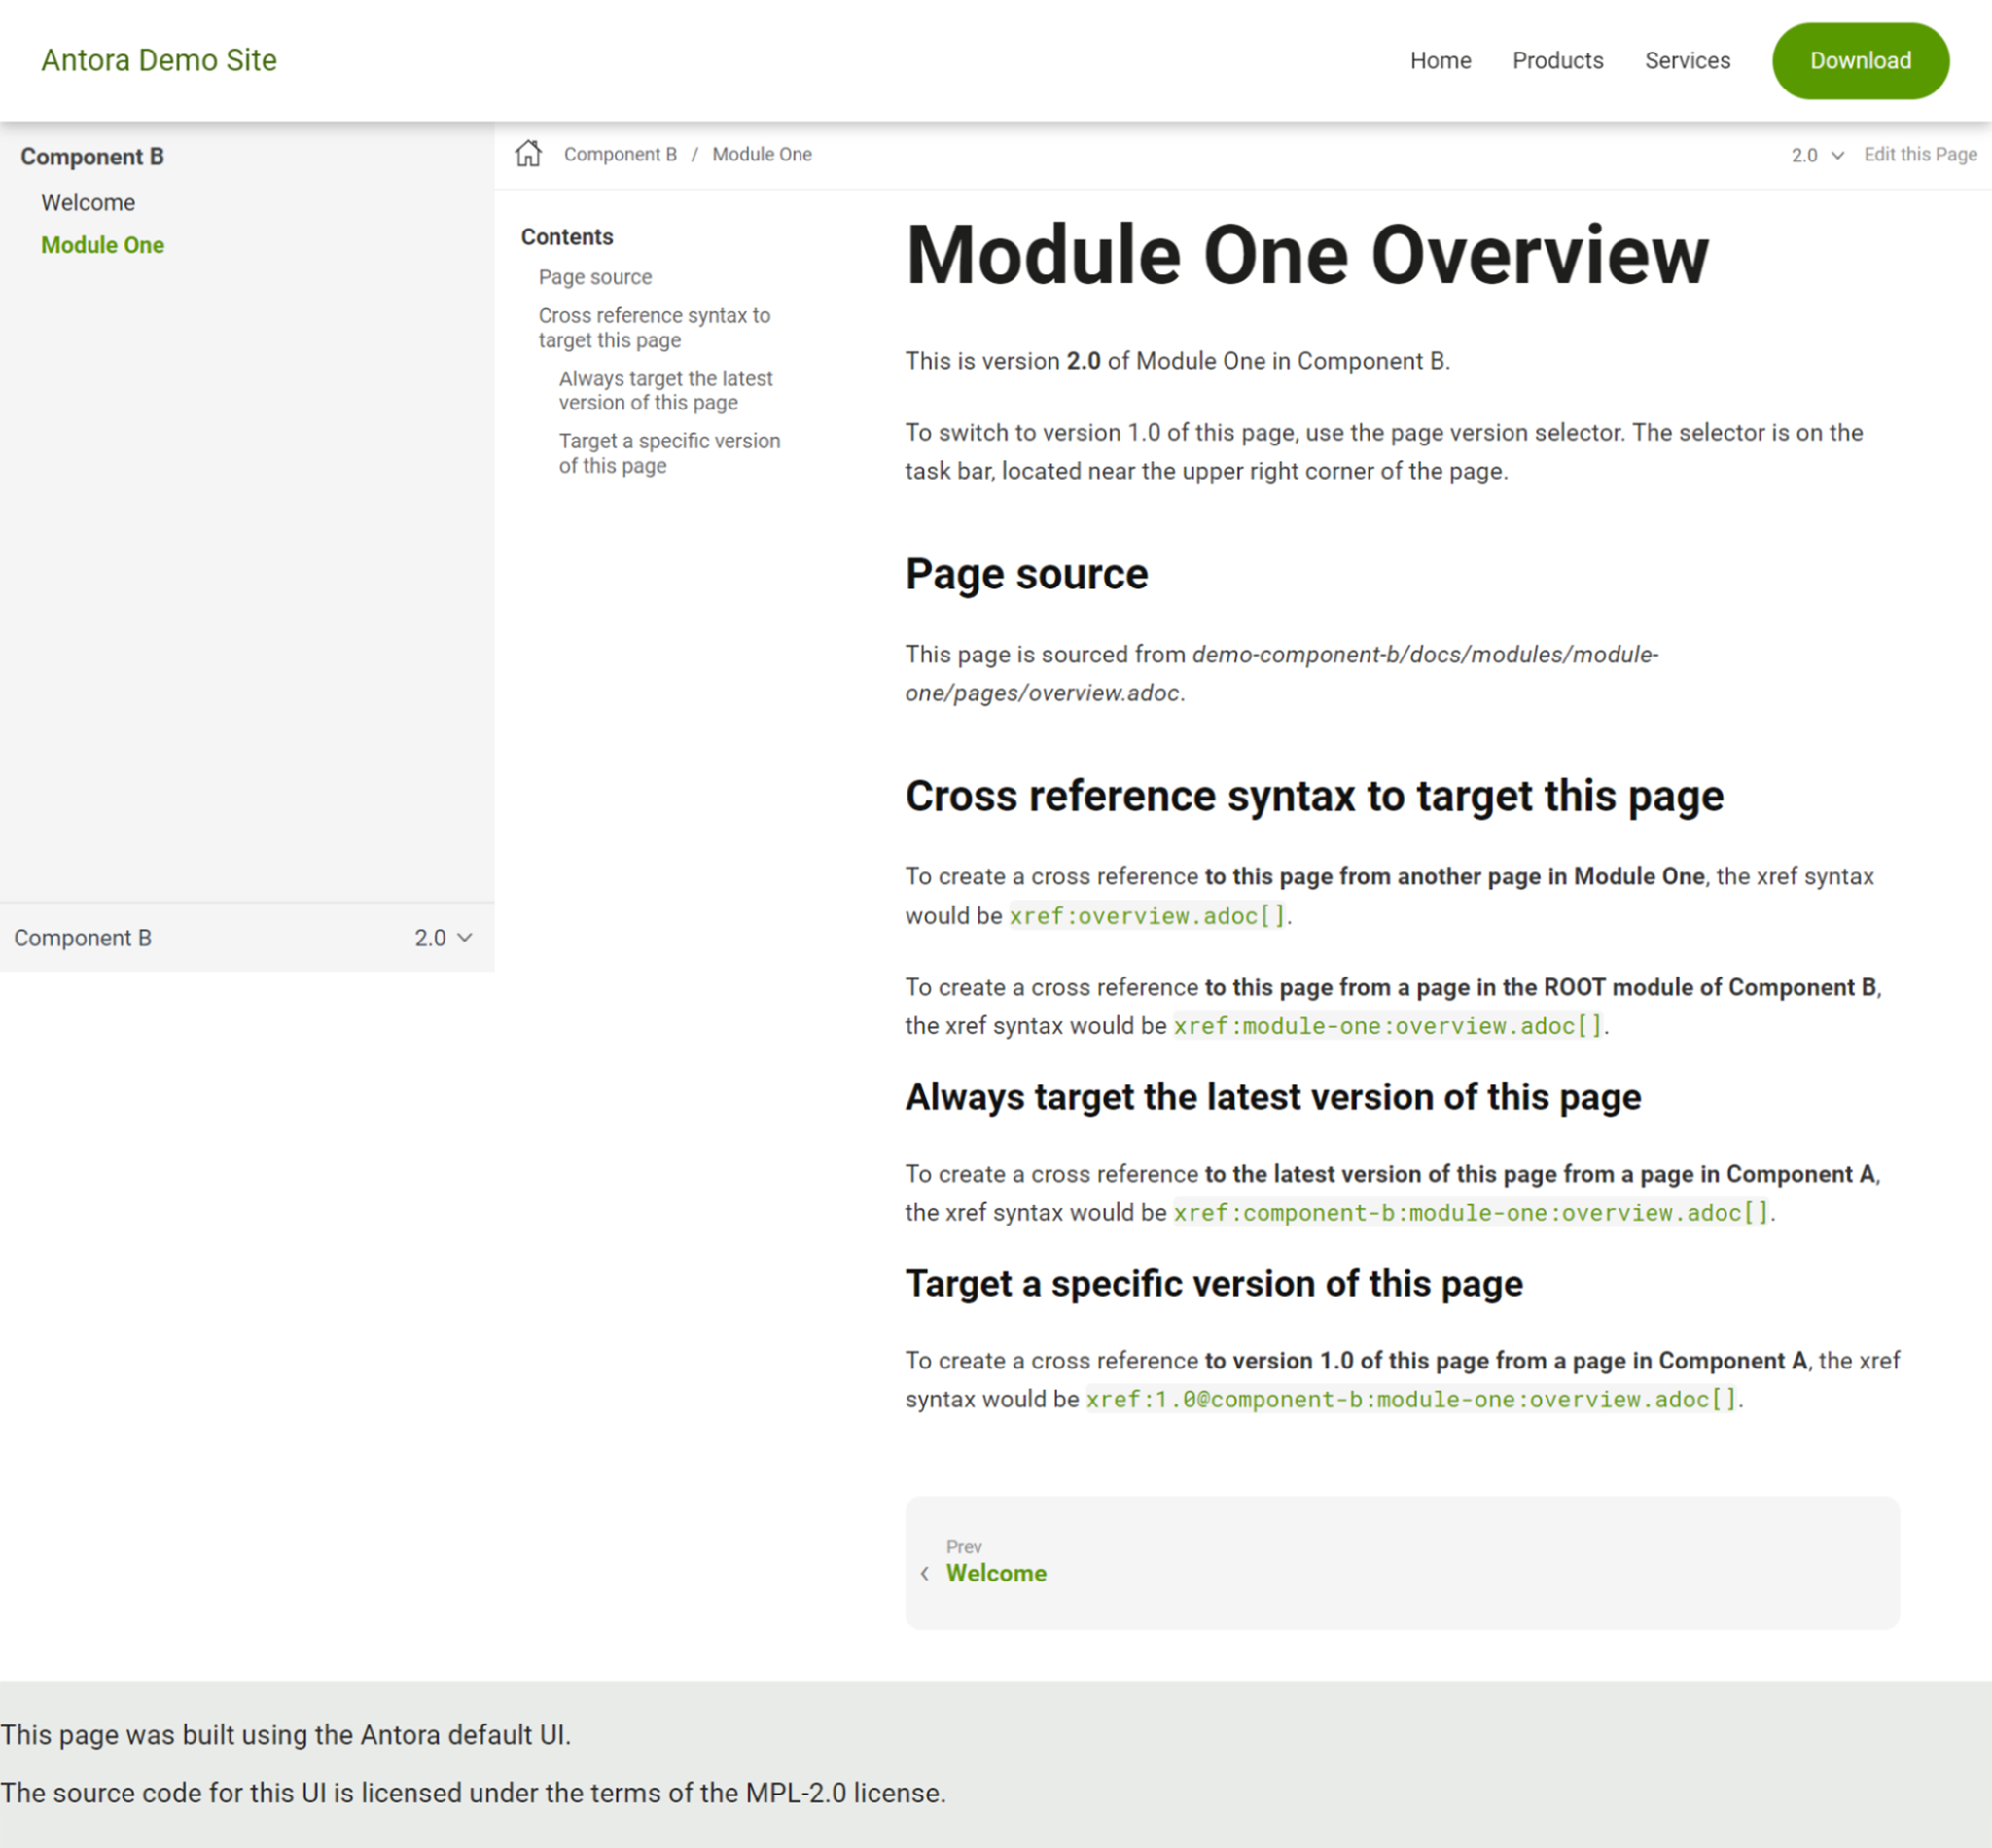
For illustrative purposes, we will replace the Antora demo site CSS with the Magnolia documentation site’s CSS.
Let’s install gulp first:
  npm install
npm install gulp-cli
Now, let’s build the UI. From the /ui folder, run:
gulp bundle Check the output of the build:
ls -lh build You should see something like the following output:
  total 544
-rw-r--r--  1 khiem  staff   271K Feb  7 11:33 ui-bundle.zip
Tip: You can preview the UI from the /ui folder by running the following:
gulp preview Go to localhost:5252 to see the preview site.
Now we can update the antora-playbook.yml to use the local UI bundle we just created. Replace the ui section with the following:
  ui:
 bundle:
   url: ./ui/build/ui-bundle.zip
   snapshot: true
Now, we can run the antora command to pick up the new UI zip file:
antora antora-playbook.yml This is what the documentation now looks like:

The Benefits of AsciiDoc and Antora
The combination of AsciiDoc and Antora to produce our technical documentation has greatly improved our developer contributions, increased writer efficiency, and helped streamline our content for maximum content reuse.
We aim to build on these improvements going forward with exciting features like release note automation, nightly bot builds for our docs site extensions, and decoupling our docs site UI to its own release cycle, so that front-end developers can more easily access and improve the look and feel of the site. This all feeds into our ultimate goal of making each visit for developers, authors, and administrators a well-rounded and useful experience.


